When I ate corned beef as a kid, it was the stuff that came in tins, set with a sheen of white fat, and I’ve often wondered what a decent home made version would be like, if such a thing could exist. I decided to have a bash, then, at making my own salt beef and corned beef at home.
Often, when I’m buying a salt beef sandwich, I watch them slicing that big, wobbly pink hunk and always think, ‘I wish I had all of that to myself’. It was kind of daunting though, the idea of making it. Can we really eat it all? What if it goes off and poisons everyone?
Well neither of those things happened, and it is genuinely easy, so long as you plan it properly to start off with. All you need (apart from the actual ingredients, obviously) is space to brine the brisket, time to let it happen, and then the means to cook it afterwards. I didn’t think that last bit through properly, but I’ll get to that.
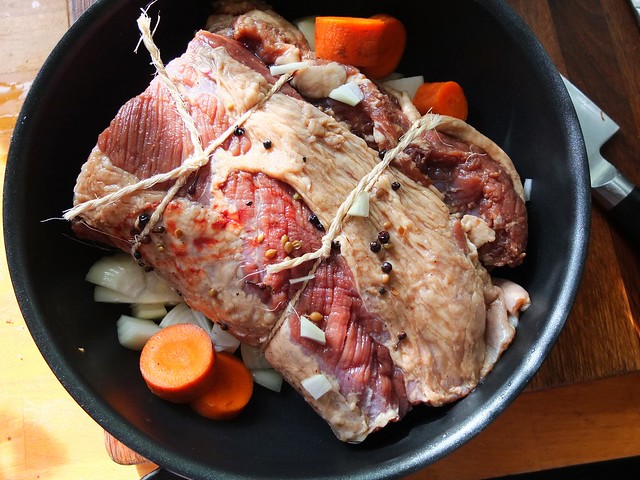
First you need to buy the beef brisket. I got mine directly from Smithfields, which is obviously a LOT cheaper than buying from a butcher. This is how I ended up with a 3kg monster in my fridge. Thankfully it did fit, since my fridge is the size of a small cottage but if you have a normal-sized appliance then you can keep it submerged in a non-reactive bucket or tub (nothing made from copper, aluminium, cast iron or brass) in a cool place. Apparently. I’d rather keep it in the fridge.
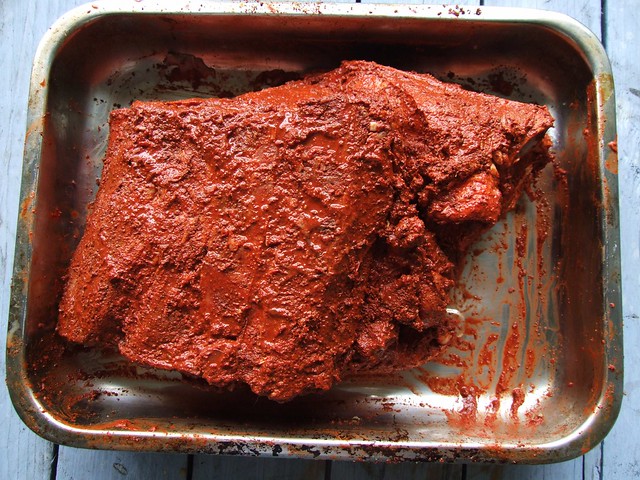
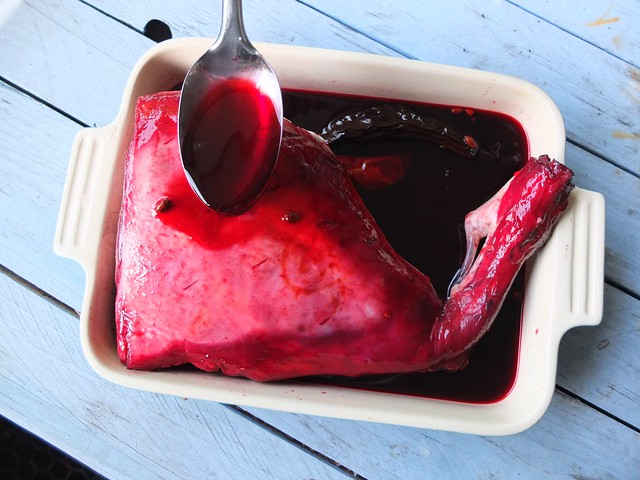
Secondly you need to work out how to brine the thing. Salt beef comes out pink because either saltpetre or curing powder is added to the brine. If this isn’t added, it will come out a sort of manky grey colour, which isn’t very appetising. I found it quite hard to work out what to use from the advice online so let me lay it down for you here. Saltpetre isn’t used any more really because of health concerns so just forget that. What you want for this job is something called ‘Prague Powder No.1′ which is readily available online. It’s still poisonous though, so you need to get the amount right. I was too scared to do this so I asked my friend Lap and he told me what to do. Thank you, Lap. I then chucked in spices and flavours as I fancied. Once it’s in the brine, you leave it for a week, turning every day.
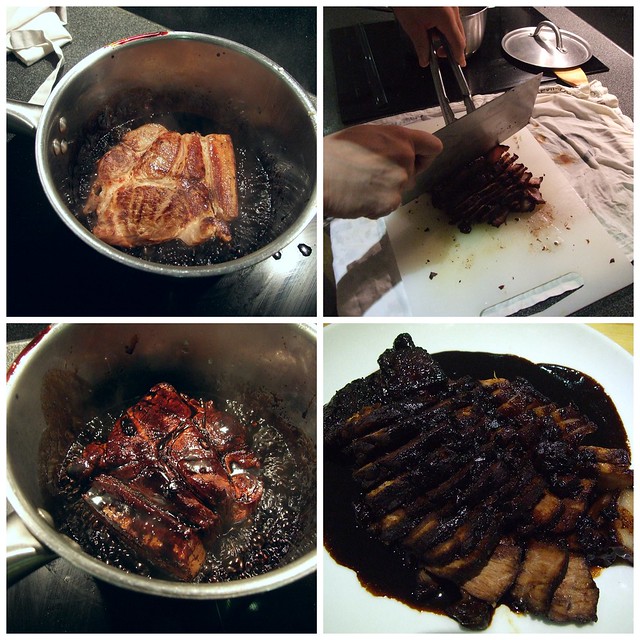
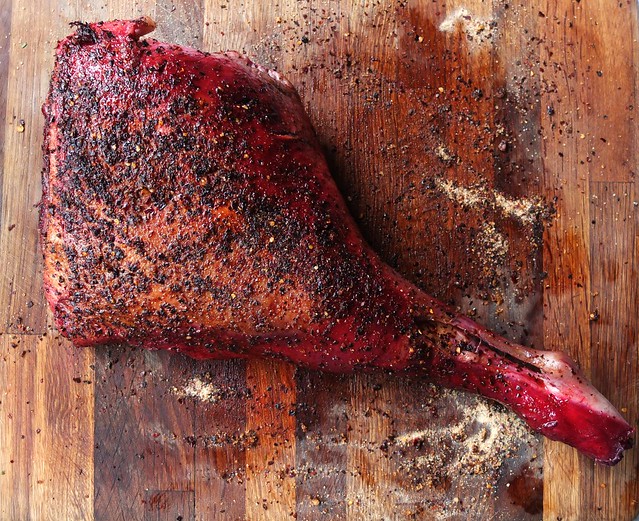
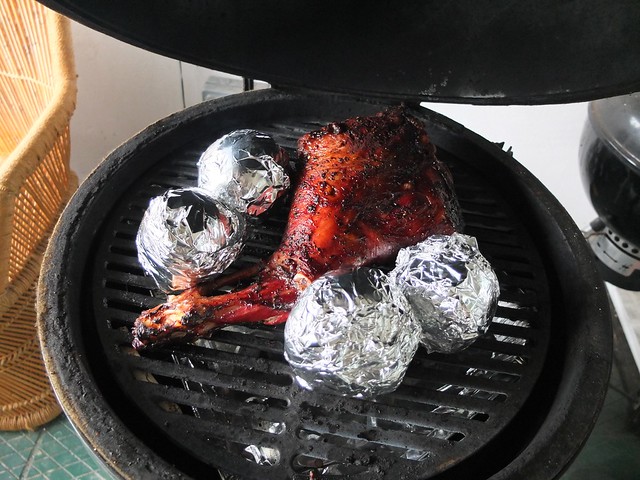
After this time, you need to cook that beast. If you were to rub it with spices and smoke it, it would become pastrami. Salt beef is simmered. This is where I screwed up because I forgot – I’m not entirely sure how since it’s such an inconvenience – but I forgot, that my gas hob is broken and I’m currently using a portable induction hob. This caused problems because the pan I had intended to cook the beef in would not work on the induction hob. I had to therefore use two induction compatible pans, and cut the brisket in half. Problem solved? No. They still didn’t fit. I stressed. I fretted. I moaned on Twitter and received some great advice from Tim who suggested using an induction pan as a conductor and sitting the giant pan inside it. I did that, then he noticed my conductor pan was non-stick, before I’d noticed the kitchen was filling with an unpleasant plastic smell…look just make sure your pan is big enough yeah?
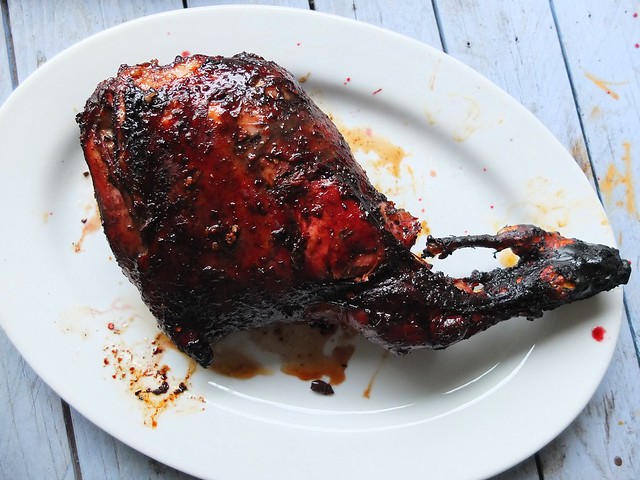
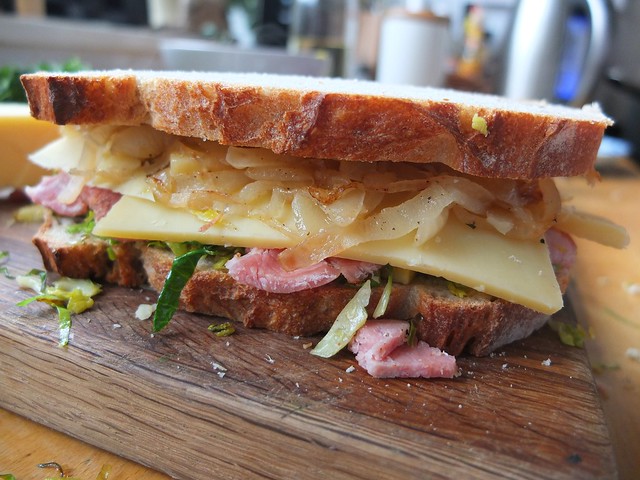
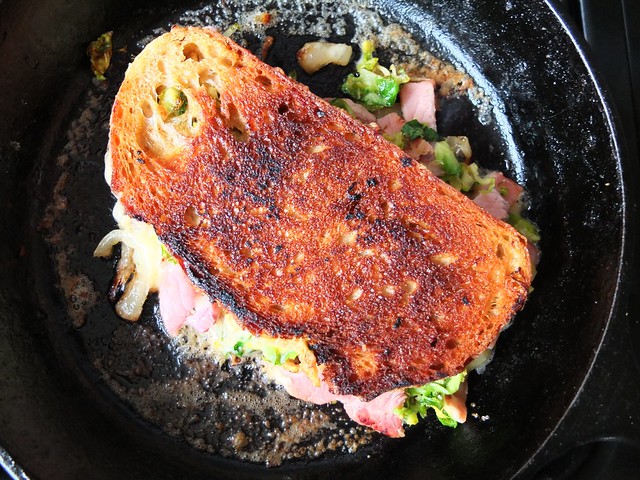
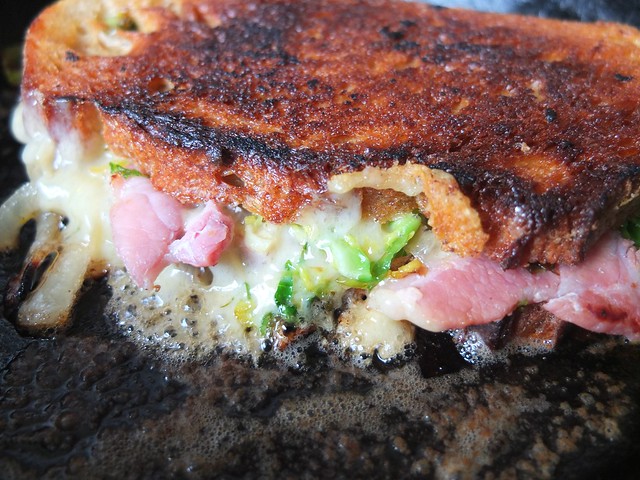
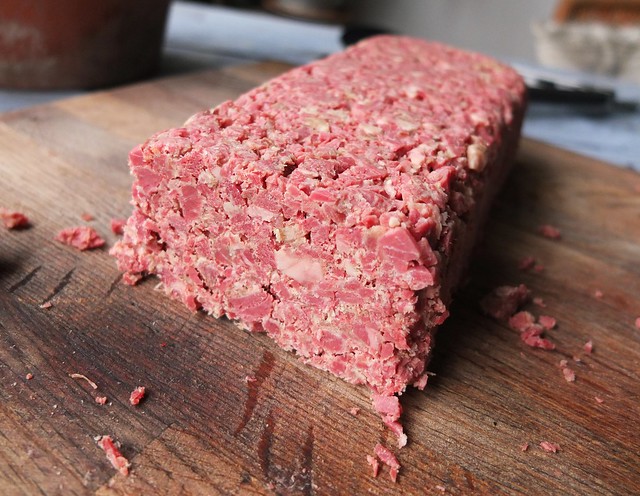
 The brisket finally cooked after 7 long hours, during which I boomeranged back and forth to the kitchen, adjusting the heat and turning the meat over and over but then…oh man is it worth it for the results. My very own wobbly hunk! And all with lovely big pieces of fat still clinging to the outside. At this point you must eat some, obviously, and then you must put some inside a bagel or rye bread with mustard and eat with a pickle alongside.

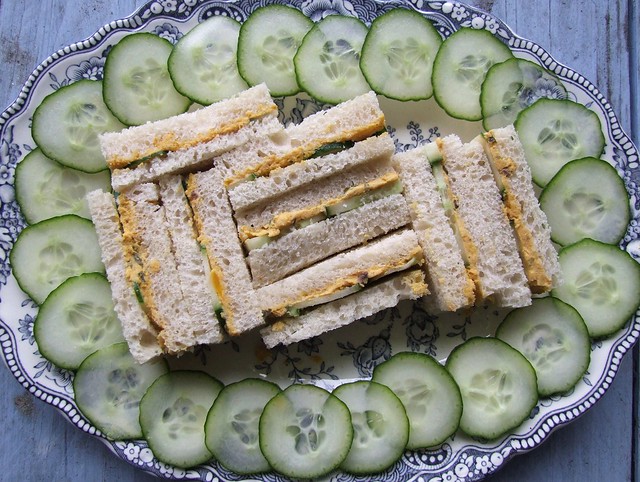
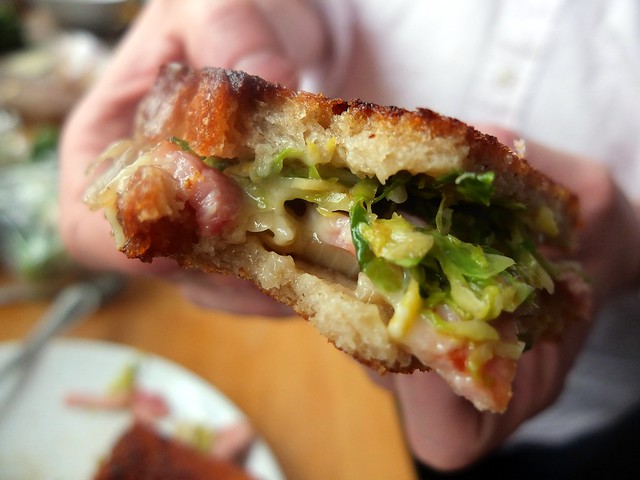
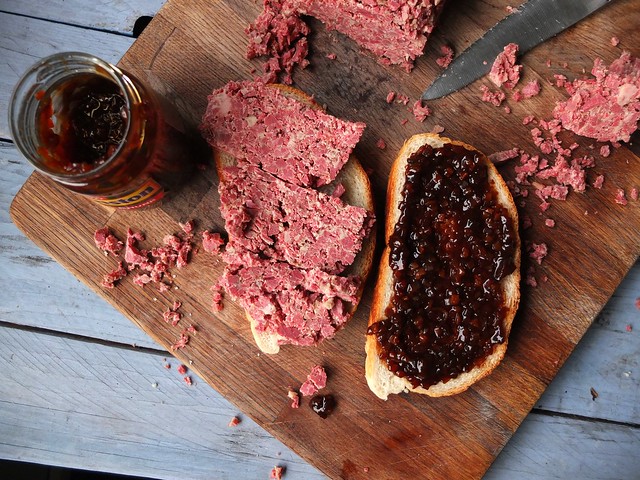
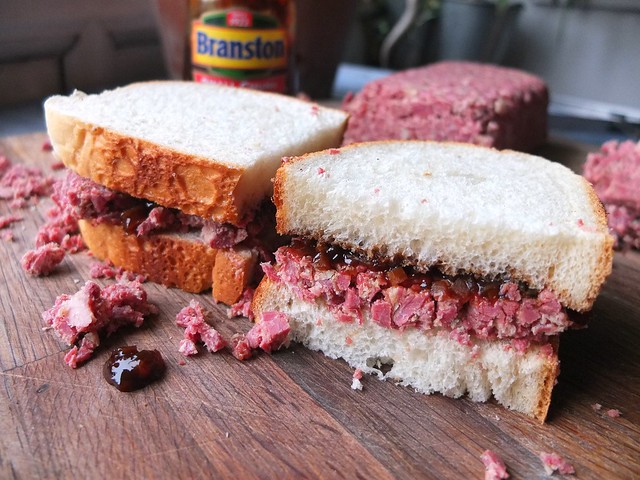
If you want to carry on and make corned beef, then you want to set some aside for that, and I heartily recommend that you do. Remember, British readers, the tinned corned beef of your childhood? Well this is that but about 10 times tastier. It’s basically chopped salt beef which is set in melted butter. Yes. This, in a sandwich, with Branston and a bit of extra butter for good measure is like the lunchbox of dreams.

Huge thanks to Lap-fai Lee for his advice on ratios in this recipe.
For the brine
330g salt
300ml vinegar
1 tablespoon brown sugar
36g Prague Powder No.1
4 cloves garlic
1 teaspoon coriander seeds
5 black peppercorns
Large pinch of mustard seeds
3 bay leaves
4 allspice berries
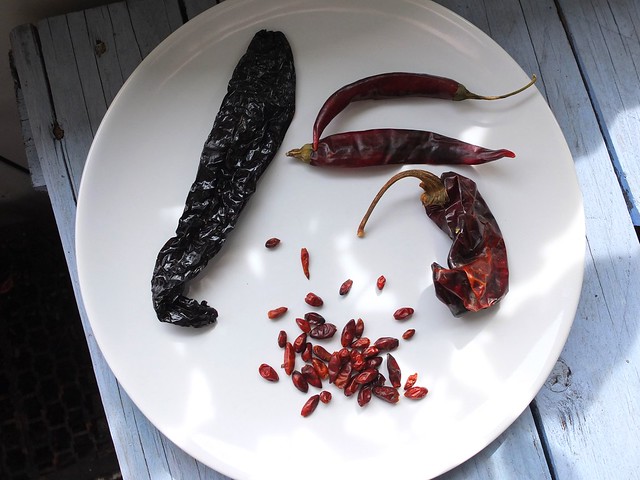
1 dried chilli
2 cloves
For simmering
1 carrot
2 sticks celery
2 bay leaves
2 onions
For the corned beef
Unsalted butter
Heat all the brine ingredients in a pan with 2.75 litres of water until it comes to a boil. Turn it off and allow to cool. Place the brisket and brine in a tub, making sure it is completely submerged. You may need to weigh it down. Leave this in the fridge for 7-10 days.
After this time rinse the beef briefly and pat it dry. Put into a pot with the vegetables and simmer for about 6-8 hours, until a knife sinks into it like its butter. Remove from the pot and eat some while still warm. Save half for the corned beef.
To make the corned beef, chop half of the brisket finely and melt some butter. You will need just enough to bind it together. Line a loaf tin with cling film and pack it in. Fold the film over the top and allow to set overnight in the fridge. Slice thickly and pile into sandwiches.