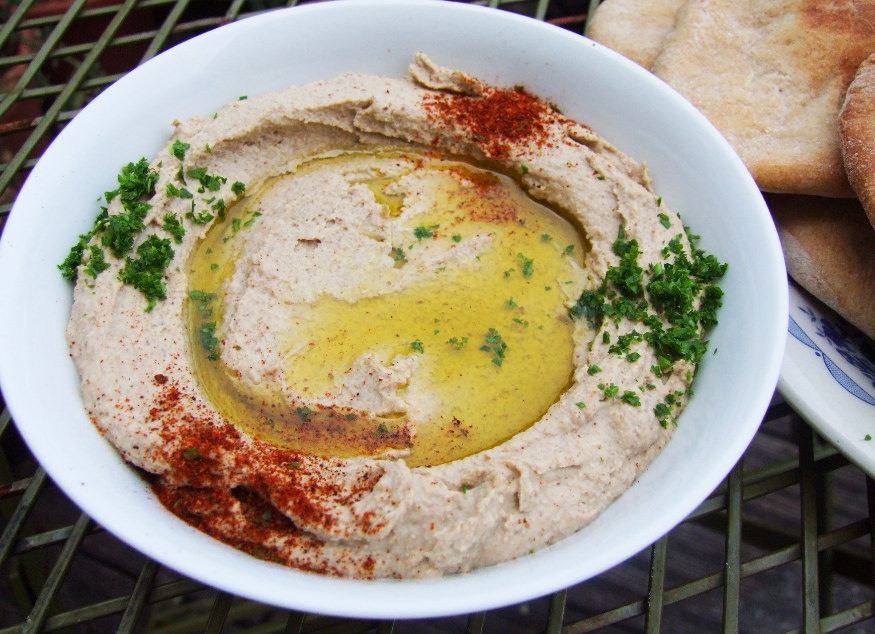
You’ve probably heard that it is really easy to make good hummus at home and that, once you’ve tried it, you’ll ‘never go back’ to the shop-bought stuff. This is rubbish. I’ve rarely met anyone in real life who hasn’t told me that their experiences of making this classic Middle Eastern chickpea slurry at home were wildly disappointing. Recipes say things like, “for a super simple, healthy supper, just whizz two tins chickpeas with 1 clove garlic, 2 tablespoons tahini, juice of 1 lemon and a glug of olive oil.” It absolutely never comes out right. It’s never smooth enough and the flavours always seem out of kilter.
I’ve been trying to make a decent version myself for years because, once I fail at something in the kitchen, I’m like a dog with a bone. Steingarten-esque in my persistence of perfection. I think I’ve cracked it but let me warn you now, you’ve got to put a little work in to get the results.
I’d been approaching the task in entirely the wrong way, viewing it as a five-minute job – whack it all in the blender and hope for the best. Really good hummus, though, is actually a labour of love.
It is essential to cook your own chickpeas. Tinned ones pong, their flesh weak and pallid. Soak the dried ones overnight in cold water with bicarbonate of soda then cook the next day; a 10-minute rapid boil and skimming plus an hours simmer should do it. If you think that’s a lot of effort then brace yourself for the next step. The creamiest texture comes from individually popping each chickpea from its papery skin; it is these tough coatings that make the hummus coarse. We’re talking one episode of Come Dine with Me (new format) to skin those suckers.
Another tip is to use the smallest chickpeas you can find. I’ve taken to these brown ones recently, they’re small and nutty, although the end result is never quite as smooth as with white peas. When it comes to blending, I do the tahini and lemon juice first, otherwise, the tahini can clump and never distribute properly and then add the chickpeas in batches with a splash of water each time. Again, it all helps to make a smooth paste. The rest is down to personal taste although of course, it’s better to add a little at a time rather than try to counteract a dominant flavour later.

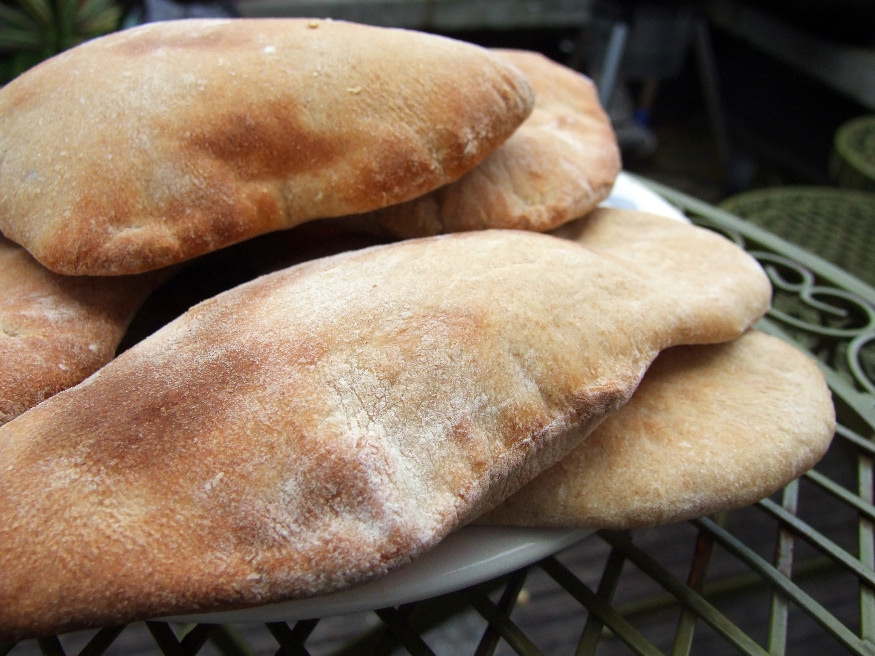
Buoyed by my success with the hummus, I decided to have a go at making pitta bread. They only needed an hour to rise and puffed up really well. Unlike the hummus, very easy to get right first time and honestly, so much better than shop-bought. Really.
Hummus and Pitta Bread Recipes
This makes a big batch but let’s face it, if you’re going to faff about skinning chickpeas then you may as well make it worth your while.
325g dried chickpeas (they will double in weight once cooked)
1 teaspoon bicarbonate of soda
5-6 tablespoons tahini
1/2 teaspoon ground cumin
Juice of 1 lemon and possibly the juice of another (at least half)
2 fat cloves of garlic
1 heaped teaspoon fine salt
Olive oil
Parsley and paprika to garnish (optional). Toasted pine nuts or whole chickpeas are also good on top.
Begin the day before, by soaking your chickpeas in cold water with the bicarbonate of soda and leaving them overnight. The next day, rinse them, cover with cold water (no salt) and bring to a rapid boil and leave for 10 minutes, skimming off the scum that rises to the top. Drain then re-cover with water and simmer for an hour – 90 minutes, until they are soft and squish easily between your fingers.
Once cool, pop each one from its skin. It takes a while but I found plonking myself in front of the telly eased the pain.
Whizz the tahini and juice of 1 lemon together in a blender until well combined, then blend the garlic and salt into the mix before adding the chickpeas, a handful plus a splash of water each time. When all your chickpeas are blended in, add a good glug of olive oil (hold the bottle over the blender for a couple of seconds), turn the blender on and leave it for a few minutes. Adjust the flavours to your taste. I find it always needs more lemon juice.
Garnish with more olive oil, parsley and paprika.
Pitta Bread (makes eight)
I used part wholemeal flour, firstly because I had some hanging around and secondly for a bit more of a robust flavour. I think it works well but you can use entirely strong white bread flour if you prefer.
220g strong white bread flour
150g whole wheat flour
1 heaped teaspoon fine salt
1 tablespoon caster sugar
1 x 7g sachet fast action dried yeast
300ml warm (not hot) water
2 tablespoons olive oil
Add the yeast to the water and leave in a warm place for about 10 minutes until frothy. This means that the yeast is activated.
In a large bowl combine the flours, salt, sugar and oil and then add the yeasty water. If you have an electric mixer with a dough hook then simply set the lot on the lowest speed for 10 minutes, adding more water if necessary, until smooth and elastic. If you don’t have a mixer, combine the mix until it comes together into a ball of dough. Again, add a little more water if necessary to bring it together. Knead on a lightly floured surface for 10 minutes until smooth and elastic.
Rest the dough in a lightly oiled bowl (so that it doesn’t stick) and cover with clingfilm or a damp tea towel and leave in a warm place until doubled in size – mine only took an hour.
After this time, knock the dough back a little by punching it a few times then divide it up into 8 pieces. Roll each into a ball, then recover for another 15-20 minutes. Preheat the oven to 200C and preheat a baking stone or baking tray (turned upside down).
On a lightly floured surface, roll out each dough ball into a pitta shape – each should be about 0.5 cm thick. Bake them on the stone or baking tray for about 5 minutes, or until golden and puffy. They are best eaten warm from the oven and they re-heat well.