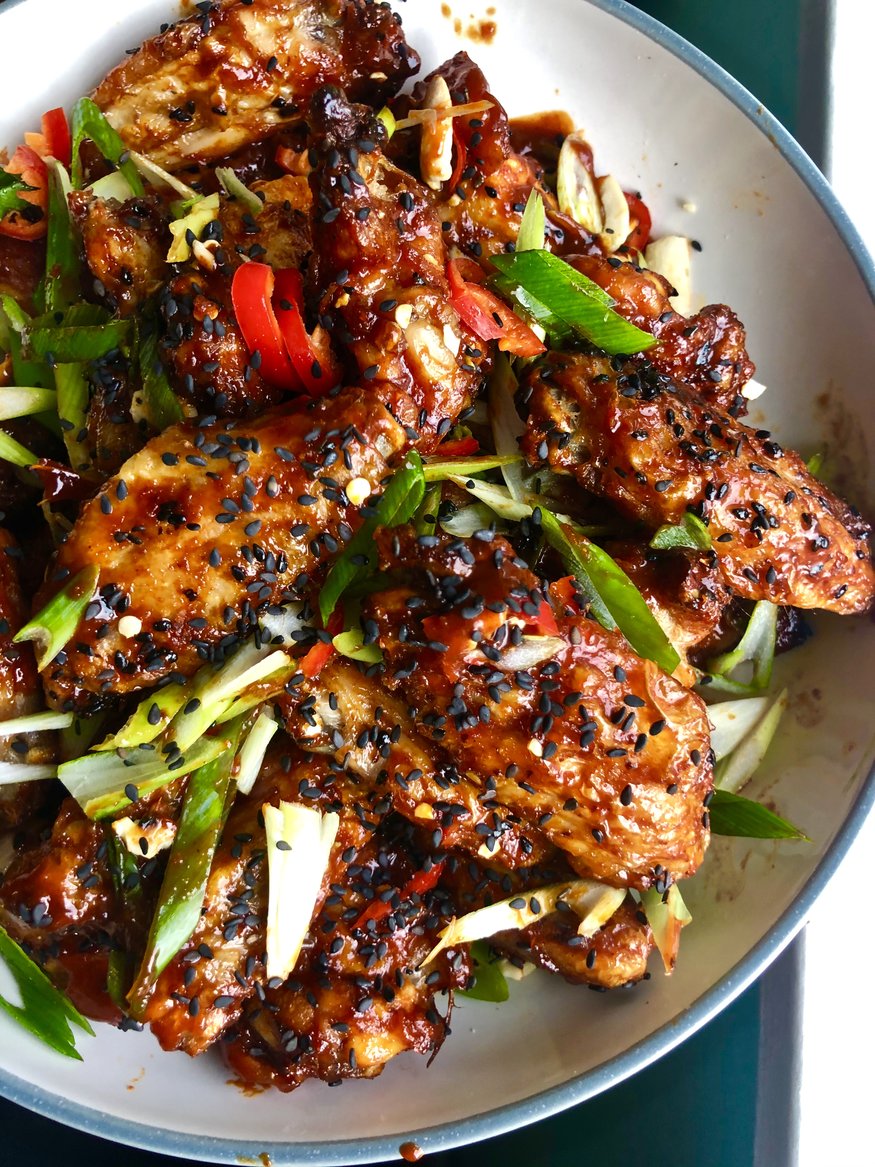
It doesn’t take long before I start craving bright, East Asian flavours around Christmas time; crackling chilli mingled with lime’s fragrant acidity and the umami depth of soy. There’s only so much cheese, dried fruit and pastry a person can take and in and between it all I want my palate revived and excited.

These wings are perfect party food and the best thing is you can oven-bake them. Deep frying at home can be a hassle. It’s fine once or twice a year but there’s no getting away from the fact it makes your house reek. Instead, try sprinkling the wings with bicarbonate of soda and salt and leaving overnight in the fridge (or even a few hours) where they will dry out nicely, giving you ultra-crisp skin.

The sauce is straight-up addictive. I personally like a fair bit of acidity on my Korean wings as it balances the sweetness of the gochujang and sugar. The garnish is essential too; this is not a timid recipe. Slivers of spring onion and chilli, crunchy toasted peanuts and plenty of sesame seeds complete the dish. It’s an OTT mess, and all the better for it.

Crispy Baked Korean Chicken Wings Recipe

Makes 24 pieces

12 chicken wings, tips removed (put these in the freezer for stock!) and cut into drums and flats (jointed, basically – easy for your butcher but also easy at home with a sharp knife).
1/2 teaspoon bicarbonate of soda
1 teaspoon onion powder (not essential but fun)
1/2 teaspoon garlic powder (as above)
2 teaspoons sea salt

For the sauce

3 tablespoons gochujang
3 tablespoons soy sauce
1 tablespoon dark brown sugar
1 tablespoon rice vinegar
2 teaspoons sesame oil
5 fat cloves smoked garlic, crushed or finely grated (obviously you could use regular, unsmoked garlic)
Juice of 2-3 limes

To garnish

Finely sliced spring onions
Finely sliced red chilli
Crushed, toasted peanuts
Black or white sesame seeds

Combine the bicarbonate of soda, salt and onion and garlic powders (if using) in a large bowl. Add the chicken wings and mix very well, to ensure all the wings are coated. Arrange the wings on a rack over a baking tray and refrigerate, uncovered, overnight (or for at least three hours). It’s fine to put the wings right next to each other but don’t stack them up or squidge them together too tightly.

When you’re ready to cook the wings, preheat the oven to 220C.

The best way to cook the wings is on a rack over a baking tray, although you may need to use two trays, so they’ve got space to crisp up nicely. If you don’t have racks, just do them on a baking tray brushed with a tiny bit of oil.

Cook the wings for 40 minutes, turning them halfway through.

To make the sauce, combine all the ingredients apart from the lime juice in a small saucepan and heat gently, stirring for a few minutes until the sugar is dissolved and the sauce is bubbling. Turn off the heat and squeeze in the juice of 1 lime to start with, then taste and add more if necessary.

Coat the wings with as much sauce as you like and fling all those garnishes over the top. Serve with extra wedges of lime and approximately 10000 napkins.
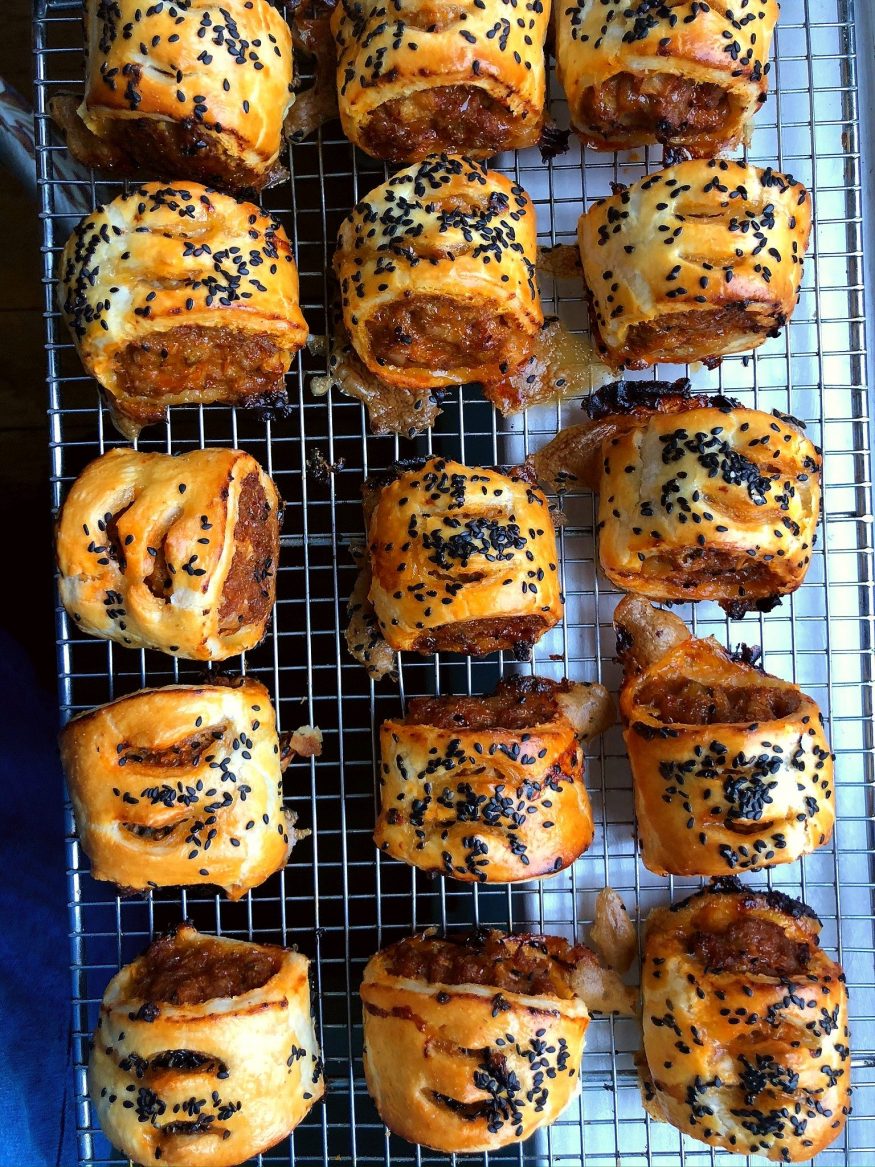
Guys, these are the best sausage rolls I’ve ever made and rest assured I have made many. Recipes on this site range from the simplest (just squeezing sausages into pastry, basically), to a version with venison, pork and sherry, or apricots and whisky-caramelised onions (still one of the most popular recipes on this website!)

And now, here I am fermenting sprouts into seasonal kimchi and flavouring my sausagemeat with gochujang. If you can stop yourself from eating three in quick succession then you are a stronger woman than I.

So I was compelled to share the recipe with you as soon as possible. You’ll need to make the Brussels sprout kimchi first but it’s so easy anyone can do it and then you’ll be able to eat that in cheese toasties and on eggs and so many other brilliant things I haven’t thought of yet for the rest of the festive season. Of course, you could use regular kimchi instead but the end result will be different.

Yes, mince pies and roast potatoes and trifle are good but what your Christmas table really needs is a healthy dose of fermented sprouts, and I won’t hear otherwise.

Gochujang and Brussels Sprout Kimchi Sausage Rolls Recipe

Makes approx 18 sausage rolls

1 kg sausagemeat (better quality meat means a better sausage roll – seems obvious but worth saying nonetheless)
1 packet puff pastry (I used Jus Rol because life’s too short etc.)
3 tablespoons gochujang
150g Brussels sprout kimchi
2 eggs, lightly beaten
Black sesame seeds to decorate

Preheat the oven to 200C.

Mix the sausagemeat, gochujang and kimchi in a large bowl. Pull a small piece out and form it into a patty then fry it in a dry pan until cooked so you can check you’re happy with the flavour.

Roll out the pastry on a lightly floured surface – you want a large rectangle and a thickness of 2-3 mm, so quite thin.

Divide the meat mixture in two, then cut the pastry in two lengthways. Make two long sausages on top of each half of the pastry and brush the edges with beaten egg.

Fold over the pastry and seal, turning over so the seal is on the bottom. Cut each into 2-inch lengths and arrange on baking trays. I like to make two snips in the top of each sausage roll with scissors.

Brush very well with beaten egg and sprinkle with black sesame seeds.

Bake for 20-25 minutes or until deep golden brown. Cool on a wire rack, if you can wait that long.

I first came across hasselback potatoes on American food blogs, years ago now. Thing is, it’s actually a Scandinavian recipe named after the restaurant Hasselbacken in Stockholm where they were invented (I’d always thought it was something to do with their backs being all ‘hassled’ by cuts*). The keys to their success are firstly the cutting and roasting technique and secondly, the application of a serious amount of butter.

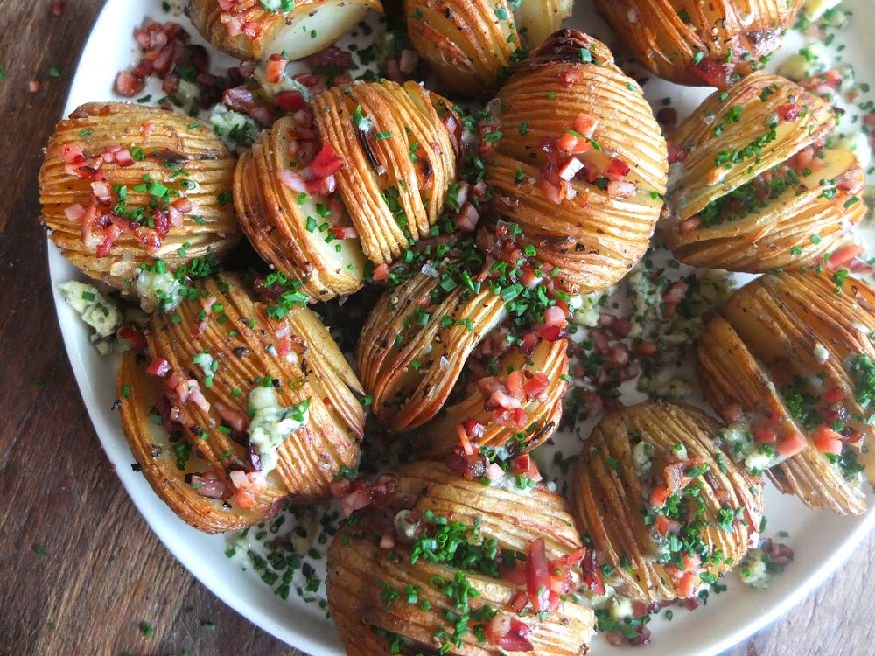
With creamy innards and lots of crisp edges on top, this recipe delivers pretty much everything you want from potatoes in one package. Like many cooks, I season mine heavily and slip garlic in between the slices but it’s fun to go a step further occasionally – here I’ve topped them with crumbled Stilton, bacon and chives.

It occurred to me that these would make fantastic party food so I’m sharing the recipe. It’s simple, almost impossibly delicious and looks festive to boot. Job done mate.

*Not really LOL.

Hasselback Potatoes with Garlic, Stilton and Bacon Recipe

12 King Edward potatoes
7 cloves garlic
50g butter
3 tablespoons olive oil
5 rashers back bacon
Chives
Stilton

Preheat the oven to 200C.

Cut slices 2mm apart 3/4 of the way through each potato.

Melt the butter with the olive oil. Place the potatoes in a roasting dish and push slices of garlic into the slits, making sure they are pushed right in, or they will burn. Pour the butter and oil mixture over the potatoes and add 100ml water to the dish. Turn the potatoes over to make sure they’re well coated. Season heavily with salt and pepper.

Bake for 1 hour 30 minutes, basting with butter every 10 to 15 minutes, or until they’re tender inside and golden and crisp on top. Don’t skip the basting.

During this time, grill or fry the bacon until very crisp, then chop finely. I then re-crisped mine in a pan.

Once cooked, serve sprinkled with the bacon bits, crumbles of blue cheese and snipped chives. You can also serve drizzled with more butter from the pan. Why not?

This recipe was developed as part of a paid partnership with Marks & Spencer.

I used to find the festive season quite difficult. It raised my anxiety levels which, to be honest, are pretty much consistently set to gnarly anyway. I know some people have a terrible time at Christmas but I think many of us have a sort of mid-level stressy time. I’ve learned to enjoy myself more by employing a cluster of coping strategies and one of them is taking a deep-dive into the festive food pool.

Entertaining a group of pals is part of the fun but I think we’ve all been in a situation where that too becomes more of a hair-pulling exercise than the free and easy social event it should be. I’ve definitely come a cropper thanks to an overly ambitious menu, spending the whole morning freaking out when I should be prepping a relaxed lunch with a glass in my hand. It is very easily done.

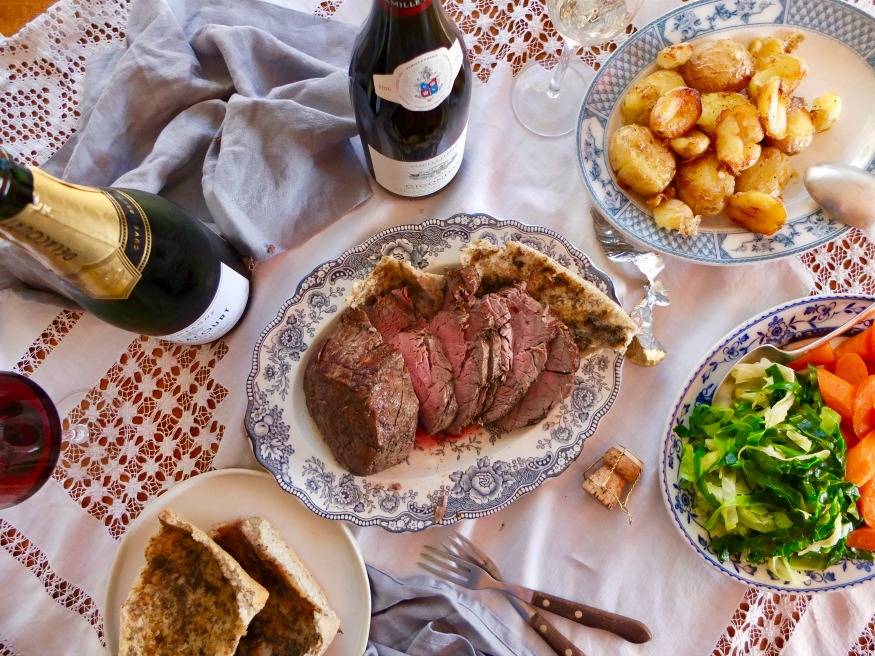
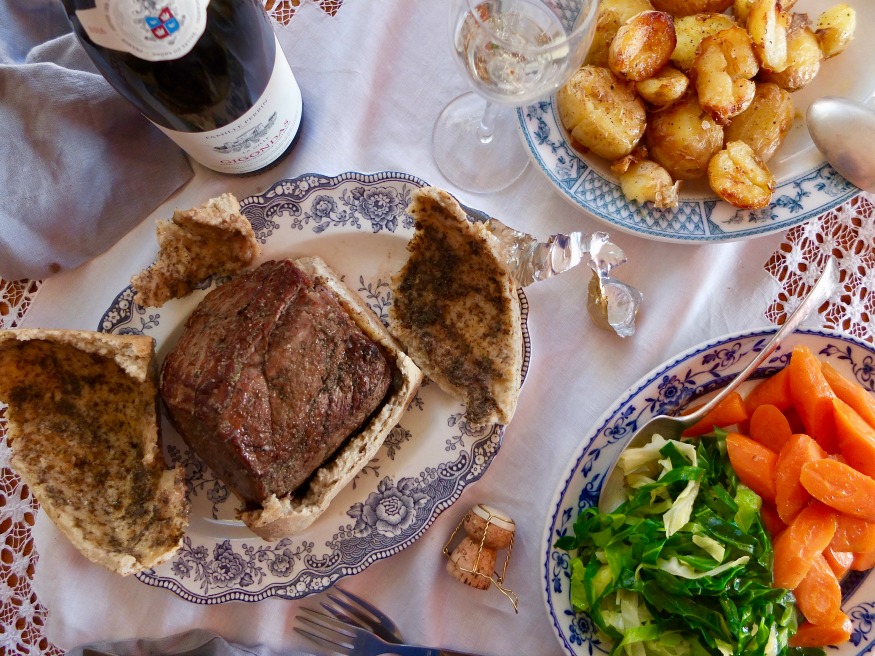
So this recipe is all about serving something a little bit different without giving yourself too much to do. I know it seems daunting baking something in a salt crust but it’s just a case of timings which I’ve already worked out for you. To remove any element of doubt use a probe thermometer – you can poke right through the crust with no issues.

M&S got in touch asking me to create a recipe using ingredients from their food hall as they’ve just opened a branch near me in East Dulwich. We’ve all done a mad dash around one on the way home from work but I was amazed at how much they stock after having a good root around for ingredients. I should say however that the fillet of beef I’ve used here needed to be ordered in advance via their website as it’s larger than the fillet steak they normally keep in store, so do bear this in mind as it took a few days to arrive.

Why cook something inside a salt crust at all? Well, it’s fun and dramatic at the table as you crack it open and the fragrant steam puffs forth. Whatever flavours you choose to rub onto the meat are trapped inside and the salt from the crust seasons everything beautifully. You’re probably more familiar with cooking fish this way but it’s fun to try with meat, I think, and I’ve had great success with a salt crusted leg of lamb too.

I rubbed the beef with dried mushrooms and pepper but you could use a combination of woody herbs like rosemary and thyme or pretty much anything, to be honest. I await your reports of freeze-dried raspberry rubbed beef with great anticipation. On the side, I served some potatoes roasted simply with lots of olive oil and salt (parboil, lightly squish and roast with 6 tbsp oil and 2 tsp salt at 180C for 20 minutes) plus buttered greens, carrots and prepared horseradish from a jar. We drank M&S Delacort champagne while cooking, which is impressively rich and biscuity for £35 – it’s great value and would also go very well with my crab vols-au-vent. With the beef, we drank a Gigondas from Perrin Pere et Fils (also from M&S) –  a wintry wine with spicy red fruit and plenty of body yet soft tannins which won’t fight against the fillet.

So there we go – maximum impact, minimal stress. What will I salt crust next?

Salt Crusted Fillet of Beef Recipe

You will need a probe thermometer for this recipe.

250g plain flour
200g rock salt
5 egg whites
1 x 750g fillet of beef
5g dried porcini mushrooms (not from M&S)
12 black peppercorns

Preheat the oven to 200C fan/220C no fan and put a baking tray in there to heat up.

Make the crust by mixing the egg whites, salt and flour. When smooth (apart from the rocks of salt) wrap in cling film and put in the fridge for 20 minutes.

Remove the beef from the fridge (don’t let it come to room temp first). Heat a little oil in a heavy-based skillet or frying pan and sear the beef really well on all sides to get a nice brown crust on it because you won’t get the browning from pan cooking as usual.

Wrap the beef in foil then set it aside for 15 minutes. Blitz the porcini mushrooms and peppercorns to a powder and rub it all over the meat.

Roll out the salt crust, remove the foil from the beef and lay it on top then wrap the salt crust around it, sealing the edges. Make sure the seal is on the bottom.

Remove the baking tray from the oven and put the beef on it. Cook for 18 minutes then probe it – you are looking for a temperature of 46C for rare meat (obviously pop it back in if it hasn’t reached that temperature). Once it is 46C remove it from the oven and let it sit until it’s 50C, around 4 minutes. Carve it right away at the table as the beef will keep on cooking inside if you don’t.

Regular readers will know I have much love for retro and unfashionable food. I warmly recall hastily scoffed Findus Crispy Pancakes after-school, hot, greasy pasties on holidays in Cornwall and cold rice salad eaten curled up in Dad’s armchair, glued to Ready Steady Cook. These are, of course, comfort foods for me but I think they have merits in the taste department too and I often find myself defending the likes of the steak slice and cod in parsley sauce. They are basic yet satisfying dishes which seem to warm me until I glow like the Ready Brek Man. They hark back to times when my tastebuds were simpler to please and a sausage roll with a takeaway packet of ketchup followed by a snail bun from the school canteen really was the highlight of my day. Still sounds pretty rad, to be honest.

In a slightly different category of retro foods, you’ll find the vol-au-vent. These were not consumed at home but appeared at family events by which I mean weddings or funerals. Here one would encounter what I (and I think, probably, most people) call the ‘brown buffet.’ A trestle table is laid with platters of triangular sandwiches (ham, cheese, chicken, prawn mayo, tuna, that kind of thing), those tiny wrinkly sausages, tiny wrinkly sausage rolls, mini (wrinkly) quiches, pork pies etc. And so we come to vols-au-vent.

I’ve always adored vols-au-vent because what you have is pastry + creamy savoury filling which is an objectively good combination. The most common flavours were 1) creamy chicken and 2) creamy mushroom but I occasionally encountered a slightly leftfield creation involving fish or perhaps even a brown, steak-appropriate sauce. In recent years, the vol-au-vent made a comeback and I’ve had some decadent snackette versions in restaurants filled with soft, pudgy garlic snails (yes, yes and thrice yes!) or lip-coating braised oxtail.

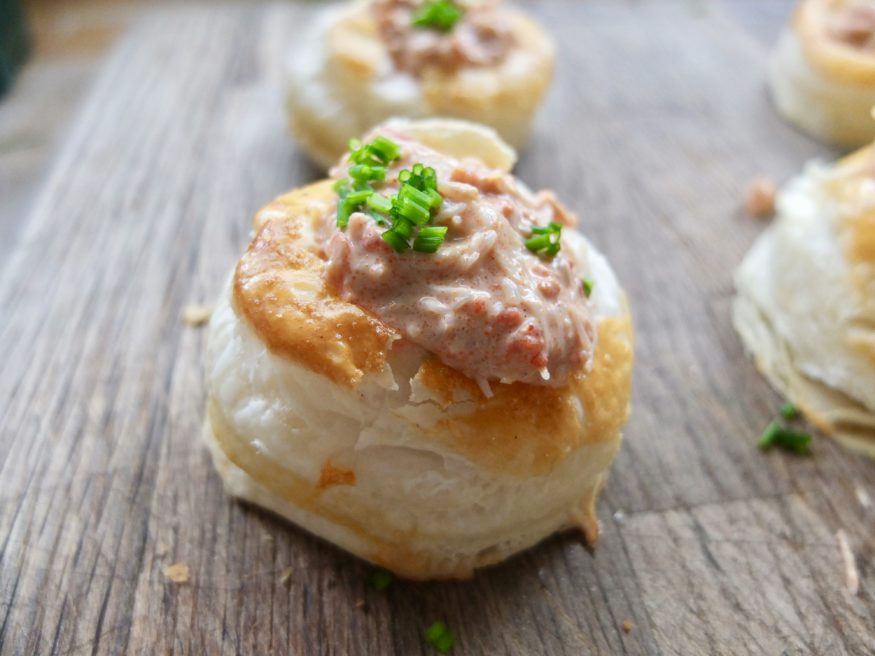
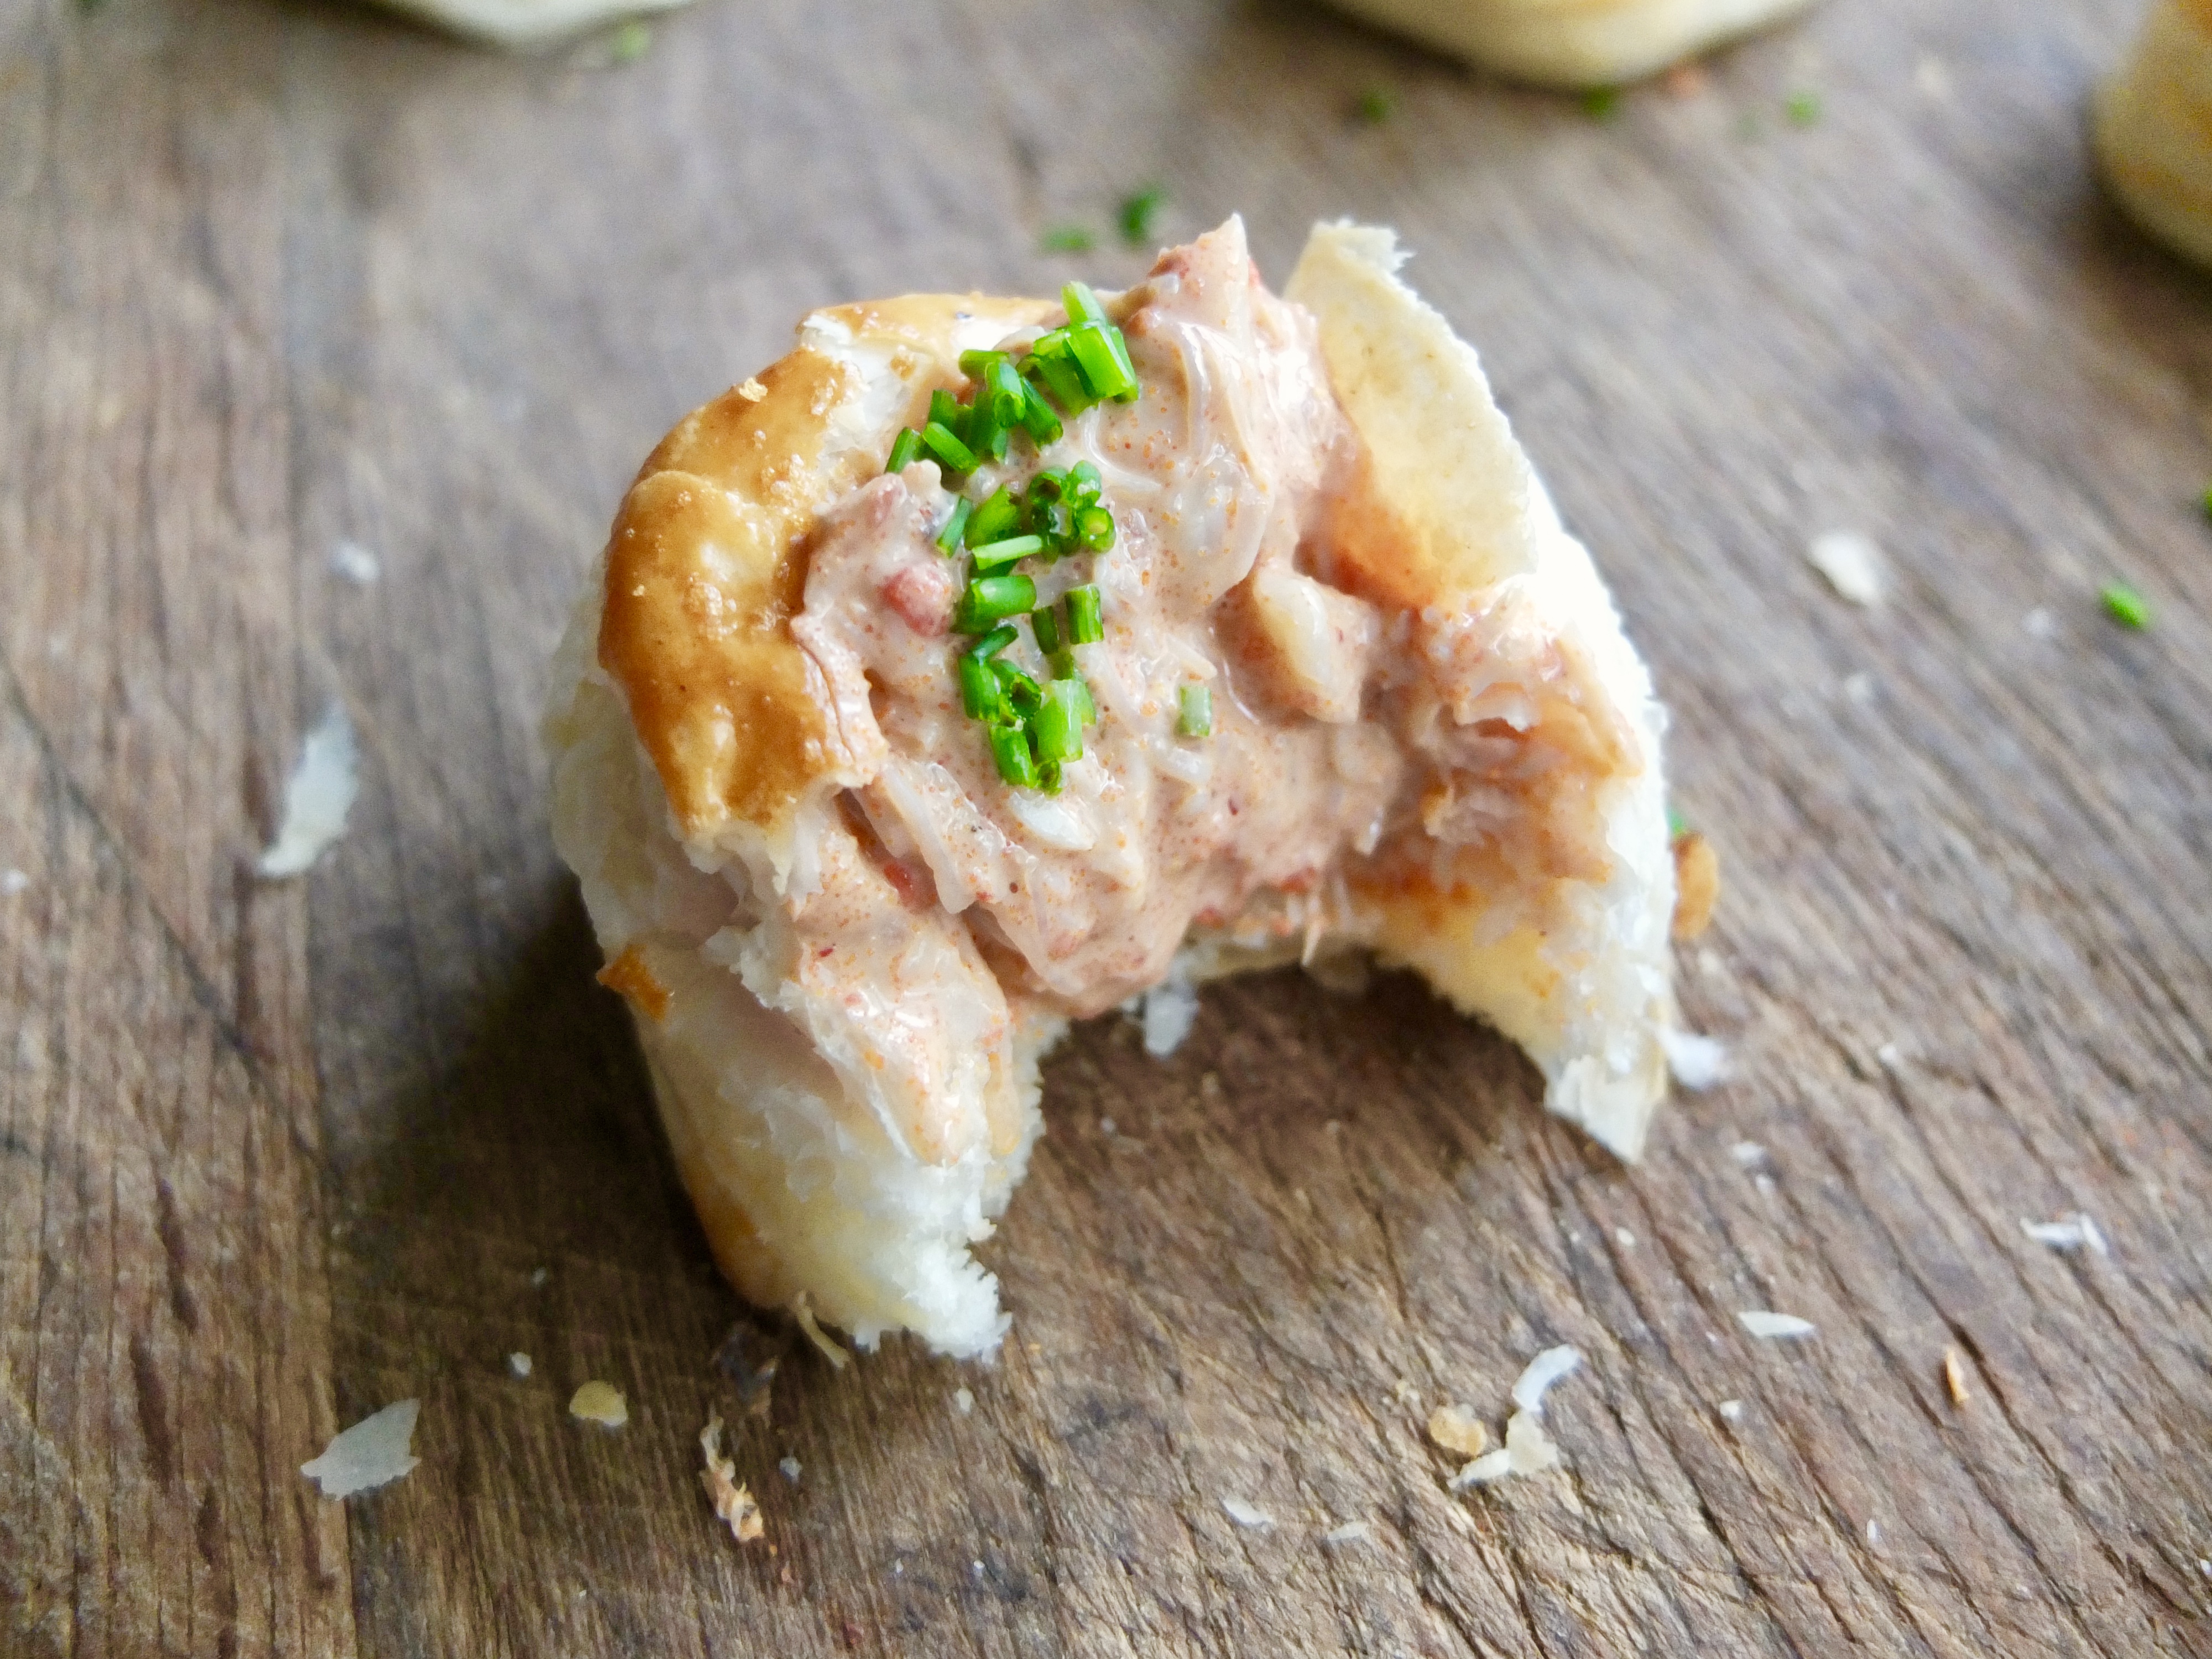
You’re probably not too surprised to see crab filling mine (again, regulars will smile or groan) which I’ve combined with creme fraiche, lemon and curry powder, for extra throwback points. They’re so easy to make too: cut pastry, bake pastry, cut pastry again, combine filling and dollop into pastry. The perfect party snack (there’s no denying the festive bellyache season is nearly upon us) or just a way to show off at your next brown food buffet.

Curried Crab Vols-au-vent Recipe

Makes around 15

500g ready-made puff pastry
1 egg, beaten
1 dressed crab (this will give you white and brown meat)
1 heaped tablespoon creme fraiche
A squeeze of lemon juice
1/2 – 1 teaspoon medium hot curry powder (these vary wildly so it’s best to add a little then taste)
1/2 teaspoon paprika

You’ll need two pastry cutters (or in my case, two glasses) which are a few cms different in size. So one cutter (glass) had an 8cm rim and the other had a 4cm rim.

Preheat the oven to 190C

Roll out the pastry to a thickness of approx 5mm. Cut circles using the larger cutter then, use the smaller cutter to partially cut smaller circles in the centre of each large circle – don’t cut all the way through the pastry. You can reroll the remaining pastry but it won’t rise as well so try to be economical in the way you cut the circles.

Place the circles on two large baking trays and brush with the beaten egg. Bake for 15 minutes, or until risen and golden. When cool enough to handle, cut the centre circle out, leaving the base intact.

Combine the crab, creme fraiche, lemon juice, curry powder and paprika. Taste and adjust the amount of lemon juice, seasoning or curry powder as necessary. Divide between the pastry cases and top with a sprinkle of the chives.